


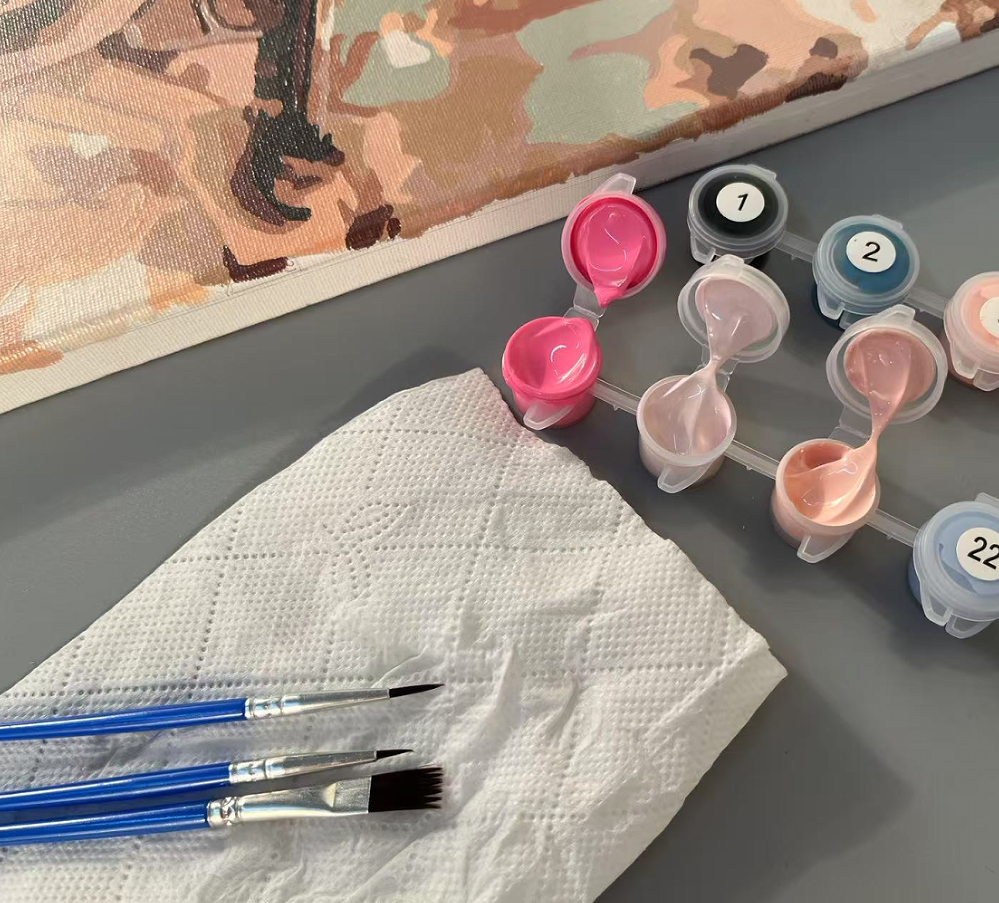
Основні інструменти й матеріали для живопису на полотні
Вибір правильного типу полотна
Початок будь-якого проекту живопису на полотні насправді залежить від правильного вибору типу полотна. Існують три основні варіанти: бавовняне, лляне та синтетичне. Бавовняне полотно, як правило, доступніше за ціною і добре підходить для різних стилів завдяки гладкій поверхні, зручній для детального виконання. Лляне полотно коштує дорожче спочатку, але довше служить, і багато професіоналів віддають йому перевагу через його чудову взаємодію з фарбою. Синтетичні матеріали можуть бути дешевшими та краще витримувати зміни погоди, хоча вони не мають того самого відчуття, що натуральні волокна. Також важливо враховувати щільність полотна, яку зазвичай вимірюють у унціях. Полотно меншої щільності, наприклад 8 унцій, легко згинається, що робить його чудовим для акрилових фарб або швидкого живопису. Більш щільні варіанти, такі як 12 унцій, дають художникам міцну основу для роботи з товстими шарами олійних фарб. Готові натягнуті полотна можна використовувати відразу, що економить час на підготовку, тоді як рулони потребують деякої збірки, але дозволяють художникам самостійно натягнути полотно так, як їм потрібно, а потім зберігати його, не займаючи багато місця.
Обов’язкові пензлі та фарби
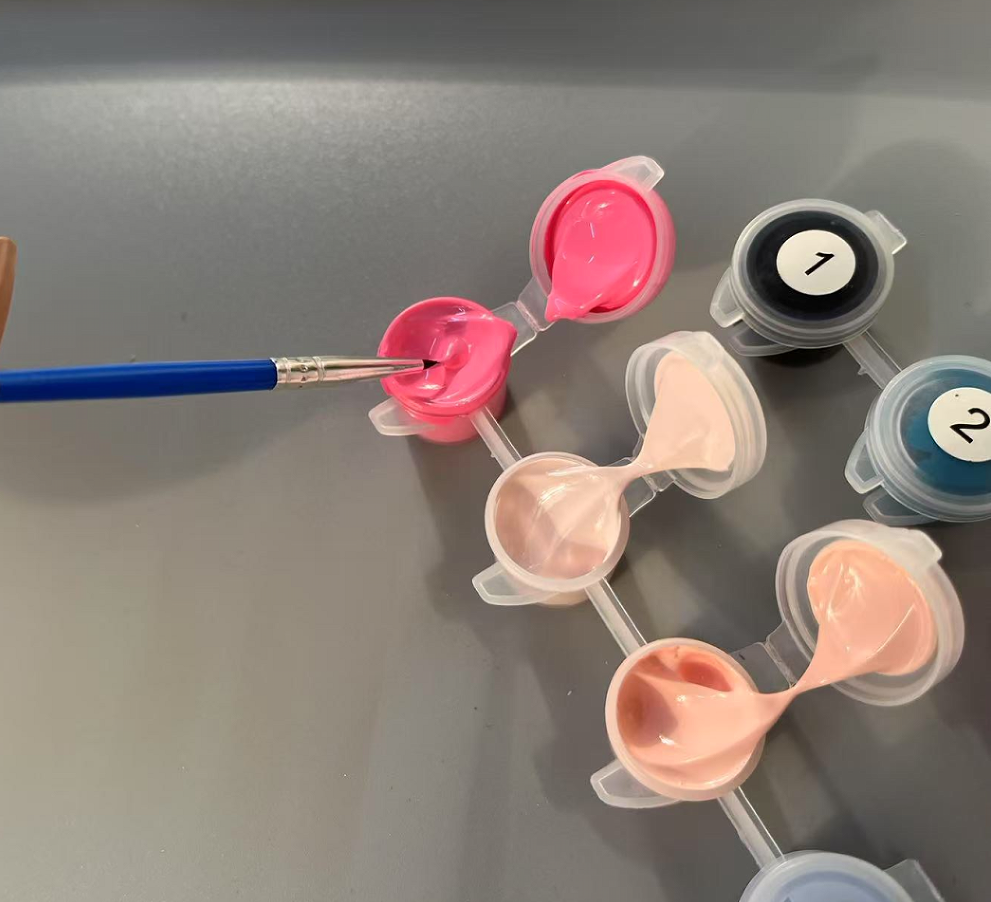
Знати, які саме пензлі та фарби використовувати — це все, що має значення, коли ви працюєте на полотні. Більшість художників зазвичай обирають три основні типи пензлів: плоскі, круглі та філберти. Плоскі пензлі чудові для нанесення товстих мазків кольору на великих площах, а круглі дозволяють працювати з дрібними деталями, які оживають твір мистецтва. Філберт-пензель займає проміжне положення — він забезпечує плавний перехід кольорів і добре підходить для змішування. Що стосується вибору фарб, то більшість обмежується акрилом, олійними або акварельними фарбами. Акрил швидко висихає, що дозволяє швидко створювати шари, а от олійні фарби висихають довго, залишаючи більше простору для експериментів із кольорами. Акварель же зовсім інша — вона створює прекрасні прозорі ефекти, але вимагає уважного ставлення до кількості води, яку змішують із пігментом.
Матеріали, які обирають митці, справді мають значення для їхніх кінцевих результатів. Багато досвідчених творців розповідатимуть кожному, хто прагне послухати, що витрати трохи більше коштів на якісні фарби та пензлі вигідні вдвох аспектах: ці інструменти довше служать і просто краще виконують свою роботу під час створення мистецтва. Подумайте про це таким чином: ніхто не очікує чудових результатів від дешевих кухонних ножів, тож чому задовольнятися посереднім обладнанням для малювання? Використання правильних матеріалів робить усе навпаки, коли мова йде про вираження творчих задумів і відчуття задоволення від того, що в результаті з’являється на полотні чи папері в кінці дня.
Техніка грунтування для досягнення оптимальних результатів
Підготовка до фарбування починається з грунтування полотна, що забезпечує краще прилипання фарби та довше зберігання мистецького вигляду твору. Для грунтування художники зазвичай наносять шар гессе по всій поверхні, створюючи таким чином бар'єр між сирим полотном і кольорами, які будуть додані згодом. Цей процес насправді допомагає контролювати ступінь вбирання фарби у полотно і забезпечує більш гладке фінішне покриття. Кількість шарів гессе також має значення. Деякі обмежуються лише одним шаром, щоб отримати більш шорстку текстуру, тоді як інші наносять кілька шарів, щоб досягти надзвичайно гладкого вигляду. Працюючи конкретно з олійними фарбами, нехтування цим етапом може стати величезною помилкою, адже ці багаті олії з часом здатні руйнувати негрунтовані поверхні протягом місяців і років.
Зараз багато художників віддають перевагу грунтам на акриловій основі, адже вони добре працюють на різних поверхнях і досить швидко висихають. Якщо хтось правильно загрунтує полотно, це суттєво вплине на зовнішній вигляд і відчуття готового твору — про це скаже кожен досвідчений художник, якщо його запитати. Якісне грунтування робить більше, ніж просто готує поверхню — воно справді допомагає кольорам виглядати яскравіше й довше тримається, не відшаровуючись з часом. Для кожної людини, що серйозно займається створенням художніх робіт на полотні, вивчення правильного грунтування — це не просто корисно, а практично обов’язково, якщо вони хочуть, щоб їхні картини виглядали професійно й привертали увагу.
Основні техніки малювання на полотні для отримання вражаючих результатів
Сухе фарбування для створення текстурних ефектів
Сухе фарбування додає ті прекрасні текстуровані ефекти й контрастні світлі плями, які так полюбляють художники у своїх полотнах. Цей процес полягає в тому, щоб узяти пензель із невеличкою кількістю фарби та обережно провести ним по полотну. Що відбувається? Полотно проступає крізь мазки, створюючи різноманітні цікаві текстури й глибину, досягти яких простим фарбуванням неможливо. Хочете спробувати це самі? Дозвольте показати, як більшість художників правильно виконують цей прийом.
- Виберіть жорсткий плоский пензель, який зберігає форму.
- Злегка занурте пензель у фарбу і видаліть зайве, змахнувши його об рушник або паперову серветку.
- Тримаючи легкий тиск, рухайте пензлем по полотну короткими мазками в певному напрямку, щоб створити текстурований вигляд.
Ця техніка є багатоцільовою та може використовуватися для збагачення різних стилів живопису — від пейзажного мистецтва до абстрактних композицій.
Техніки нанесення шарів і глянцювання
Коли справа доходить до малювання, шарування та створення глазурі мають ключове значення для отримання глибоких, насичених кольорів, які так люблять художники. Шарування фактично означає нанесення кількох шарів фарби один за одним. Кожен новий шар дозволяє художнику поєднати кольори цікавими способами, створюючи різні відтінки й тони. Більшість художників під час цієї техніки змішують різні кольори, щоб досягти м'яких тіней і яскравих світлих місць, які надають картинам об'ємність. Проте глазурування працює інакше. Художники наносять тонкий, прозорий шар фарби поверх уже висохлого фарбового шару. Це створює чудовий блиск, з яким часто асоціюють роботи старих майстрів, а також змінює візуальне сприйняття базових кольорів під ним, не приховуючи їх повністю.
Щоб ефективно наносити шари:
- Почніть з основного кольору й дозвольте йому трохи висохнути, перш ніж наносити наступний шар, щоб уникнути замулення кольору.
- Використовуйте напівпрозорий фарб для глазурування, наносячи його м’якою пензлиною для рівномірного покриття.
Експертна порада — дозволяти достатній час на сушіння між шарами; це забезпечить чітке відокремлення кольорів та їхню яскравість. Багато художників рекомендують використовувати акрилові або олійні фарби для глазурування через їхню повільнішу сушку, що сприяє якісному змішуванню.
Опанування техніки змішування «мокре по мокрому»
Малювання «вологе по вологому» отримує багато схвалень, тому що забезпечує природний вигляд гарних кольорових переходів та плавних переходів. Художники люблять використовувати цей підхід під час написання пейзажів, адже можна наносити свіжу фарбу на шари, які ще не висохли. Особливість цієї техніки полягає в тому, що кольори змішуються безпосередньо на поверхні полотна. Художники відчувають більше спонтанності у роботі пензлем, досягаючи мрійних ефектів неба чи м’яких перехідних відтінків хмар без особливих зусиль. Багато хто вважає це одним із найкращих способів передати відчуття туманного ранку чи хмарних далин у своїх роботах.
Щоб успішно застосувати цю техніку:
- Оберіть середовище, таке як олійні фарби, які мають меншу швидкість висихання, що дає більше можливостей для змішування.
- Використовуйте м’які пензлі, щоби змішати кольори, створюючи гармонійне об'єднання.
Яскравим прикладом цієї методики є багато пейзажних картин Боба Росса, де техніка змішування створює неймовірно спокійні сцени. Опанувавши метод «вологе по вологому», художники можуть оживити полотно захоплюючими кольоровими градієнтами та перетвореннями.
Посібник крок за кроком для створення ідеального живопису на полотні
Ескіз вашої композиції
Початок роботи із ескізів залишається однією з тих фундаментальних стадій, на якій наполягають більшість художників, створюючи роботи на полотні. Уявіть це як створення скелета перед тим, як наносити плоть і кольори. Гарний ескіз допомагає визначити, де на сторінці має розташовуватися кожен елемент, забезпечуючи тим самим, щоб нічого не виявилося на незручних місцях пізніше. У художників є багато варіантів методів малювання ескізів. Деякі віддають перевагу олівцям через їхній контроль над дрібними деталями, інші обирають вугілля, яке дозволяє досягти сміливого, ефектного вигляду. Різниця між цими підходами має суттєве значення, залежно від того, який саме стиль твору художник прагне створити. Цифрові художники іноді переносять свої дизайн-проекти безпосередньо на полотно. Зазвичай вони встановлюють проектор, щоб позначити базові форми. Проте більшість досвідчених художників радять починати з простого — розбивати складні зображення на менші частини та спочатку працювати з легкими лініями. Такий підхід дозволяє малюнку розвиватися природно, замість того, щоб намагатися примусово втиснути все на місце відразу. Ескіз виконує кілька функцій, що виходять за межі просто планування простору, він створює місток між традиційними техніками та сучасними інструментами.
Стратегічне нанесення базових шарів
Базові шари у картини дійсно створюють основу для усього, що йде далі. Вони формують щось на зразок кістяка кольорів, який підтримує усі ті прекрасні шари зверху. Більшість художників вважають, що те, що вони наносять спочатку, суттєво впливає на те, наскільки яскравим або тьмяним буде кінцевий результат. Багато хто наполегливо рекомендує кольорове блокування як чудливе початкове рішення. По суті, це означає поділ різних частин полотна на базові кольори відразу на початку. Це економить час пізніше, коли доводиться фарбувати великі площі, забезпечуючи таким чином сильнішу основу, яка гарно взаємодіє з тим, що додається далі. Якщо подивитися на роботи будь-якого відомого художника, то, швидше за все, він серйозно витрачав час, щоб досягти ідеальних перших шарів. Яскраві основи надають картинам життєрадощів та енергії, тоді як вибір м’якших, більш приглушених відтінків створює враження більшої злагодженості та витонченості. Оволодіння цими основами дозволяє художникам створювати роботи з реальною глибиною та індивідуальністю навіть на самому початковому етапі.
Додавання глибини деталями оздоблення
Ці остатні штрихи справді оживають картини, надаючи їм глибини та роблячи більш візуально привабливими. Художники використовують такі прийоми, як світлі плями, щоб привернути увагу до певних місць на полотні, тоді як тіні допомагають створити об'єм і контраст, завдяки чому об'єкти майже виглядають тривимірними. Щоб правильно передати дрібні деталі, більшість художників покладаються на маленькі пензлі, працюючи над складними лініями, а іноді навіть вдаються до палітрового ножа, щоб отримати цікаві текстури. Важливо також правильно підбирати кольори, адже навіть незначні зміни відтінків можуть суттєво змінити сприйняття глибини або плоскості певних частин картини. Як добре підкреслила художниця Ненсі Комінскі: «Приємність у деталях», що найкраще пояснює, чому так багато художників проводять години, удосконалюючи кожен дрібний елемент. Усі ці техніки роблять більше, ніж просто полірують картину; вони справді перетворюють порожні полотна на твори, які привертають увагу глядача та розповідають історії за допомогою візуального мовлення.
Креативні ідеї для малювання на полотні для всіх вікових груп
Прості проекти малювання за номерами для початківців
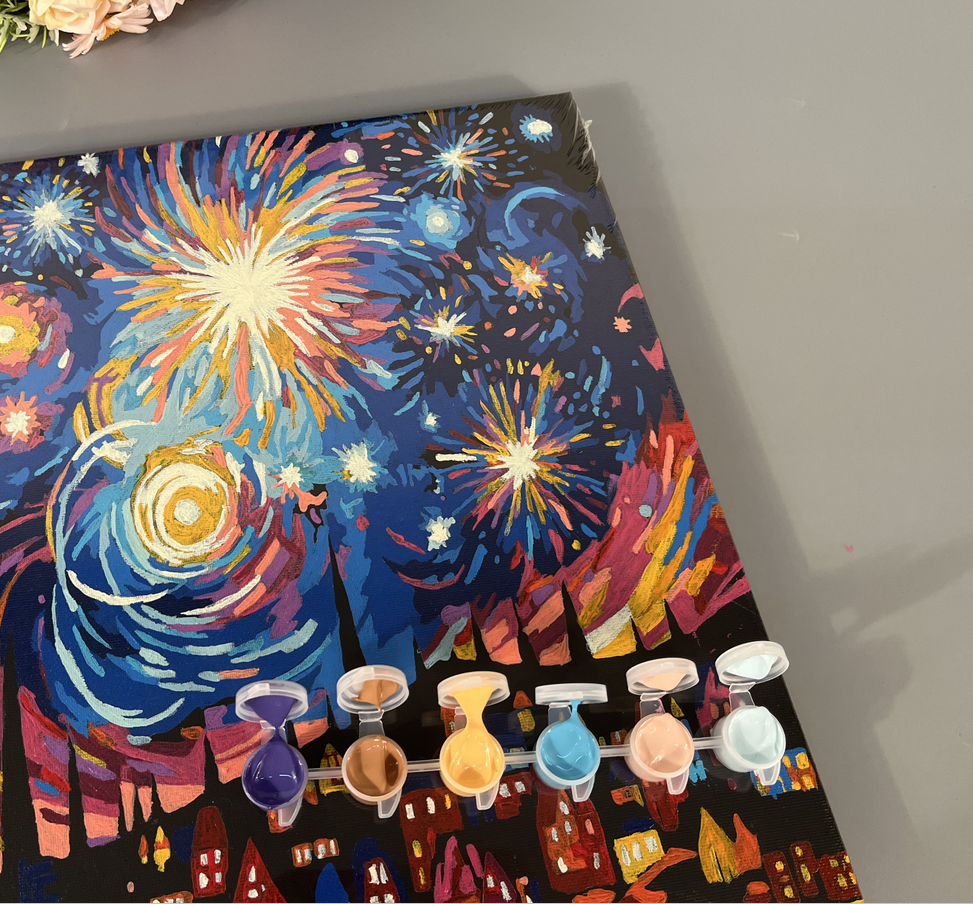
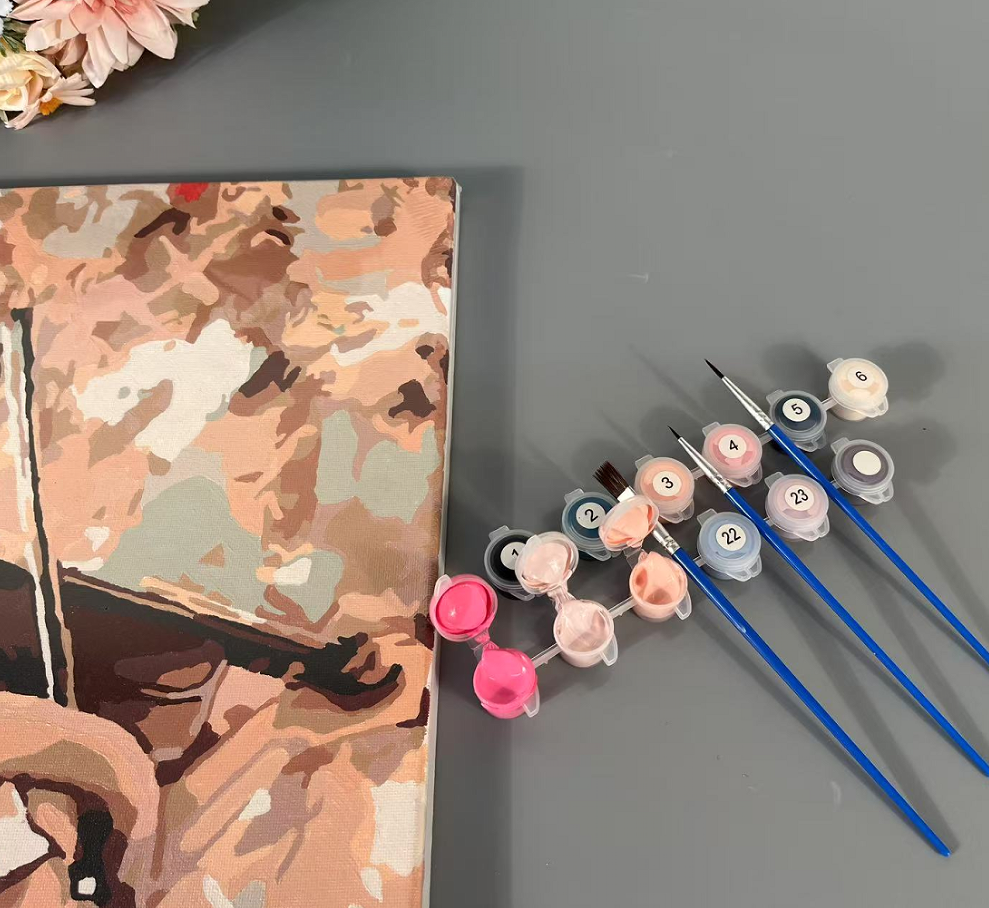
Для людей, які тільки починають займатися малюванням, набори для малювання за номерами можуть бути дуже корисними. Ці набори розбивають весь процес на зручні кроки, щоб новачки могли освоїти основи, такі як змішування кольорів і правильне нанесення фарби. На ринку представлено безліч різноманітних дизайнів — хтось може почати з чогось простого, наприклад, з кольорової заході сонця, а хтось обере деталізовані пейзажі міст, коли відчує готовність. За даними останніх досліджень, приблизно сім із десяти новачків повідомляють, що відчувають значно більше впевненості після роботи над такими полотнами. Нічого дивного, що останнім часом спостерігається сильний стрибок інтересу до цього — багато хто справді отримує задоволення, спостерігаючи, як їхні творіння поступово набирають форми.
Забава з діамантним малюванням разом з дітьми
Діамантова мозаїка сьогодні стала дуже популярною серед дітей, адже це як розважальна, так і навчальна діяльність. Діти наклеюють маленькі смоляні діаманти на полотно, дотримуючись кольорових візерунків, що дуже допомагає розвивати їхню зосередженість та координацію рухів. На початку краще обирати простіші дизайни, що містять лише кілька кольорів, щоб діти не відчували перевтоми, намагаючись опанувати все відразу. Батьки люблять спостерігати, як їхні діти разом працюють над такими проектами. Одна мама розповіла мені, що її дочка та син годинами сперечалися, кому зараз приліплювати черговий діамант, але згодом навчилися чергувати та навіть почали разом планувати наступні картини. Коли діамантова мозаїка завершена, у дітей виникає чудове відчуття задоволення від того, що їхня створена робота так гарно виглядає на стіні. Дослідження показують, що такі практичні проекти справді стимулюють розвиток мозку та сприяють формуванню в дитини з самого дитинства любові до створення чогось власними руками.
Абстрактні підходи для творчої свободи
Абстрактний живопис дає художникам шанс проявити себе творчо, не залишаючи позаду всі ті жорсткі правила, які супроводжують більш традиційні форми. Працюючи в абстракції, має значення, які кольори хтось обирає та як він веде пензлем по поверхні. Це відкриває двері для спонтанних рішень і бурхливих виразів, які, можливо, ніколи не відбулися б, якби все мало виглядати просто чудово. Подумайте про Джексона Поллока, наприклад. Його картини «крапля» були скрізь, буквально, хоча якось узагалі узгоджувалися. Свобода, яку пропонує абстрактне мистецтво, цілком чудова, тому що вона відкидає всі ті старі очікування щодо того, як має виглядати добре мистецтво. Художники можуть справді передавати почуття та думки на полотні способами, які відчуваються справжніми, а не примусовими. У цьому є щось особливе – стояти лицем до лиця з порожнім простором і потім спостерігати, як він перетворюється під власною рукою.
Вирішення поширених проблем з полотном
Усунення неоднорідного фарбування
Більшість художників стикається з проблемами неоднорідного фарбування на певному етапі, зазвичай через шорсткість поверхні полотна або тип використаної пензлика. Підготовка перед початком має велике значення. Спочатку приберіть пил, потім нанесіть грунтівку, щоб уникнути нерівномірного вбирання. Різні пензлі краще працюють з різними фарбами. Акрилові фарби потребують м’яких щетинок, а олійні — жорсткіших. Багато досвідчених художників віддають перевагу штрихуванню вздовж і поперек полотна замість кругових рухів. Тисніть легко на пензлик під час нанесення фарби. Надмірне зусилля призводить до утворення грудок. Поєднання цих простих прийомів з досвідом, накопиченим художниками протягом років спроб і помилок, зменшить кількість фруструючих днів під час малювання.
Швидке поновлення висохлих акрилових фарб
Повернення висохлого акрилового фарби до робочого стану дозволяє заощадити кошти і не викидати матеріали. Більшість художників досягають успіху, зчищаючи застиглі шматочки полотночним ножем, а потім поступово додаючи воду або акрилове середовище, доки текстура знову не стане придатною для використання. Для тривалого зберігання важливо тримати акрилові фарби в прохолодному і сухому місці. Доброю звичкою є перекладання залишків фарби в щільно закриті контейнери відразу після завершення проекту. Багато професіоналів навіть переливають залишки у спеціально розроблені герметичні палітри, які зберігають вологу. Деякі студії навіть використовують роздільні контейнери або системи зволожування палітр, які підтримують кілька кольорів вологими одночасно. Ці методи значно спрощують процес повернення старої фарби до робочого стану, коли це буде потрібно.
Отримання чітких країв та плавних переходів
Отримання чітко виражених країв та плавних переходів між кольорами дійсно робить усе суттєвою різницею у гарній полотні. Коли намагаєшся досягти чітких країв, для мене найчастіше чудово працює малярський скотч. Він створює ті чисті лінії, де різні кольори зустрічаються без будь-якого безладного накладання. Також важливо володіти пензлем. Тримай пензель правильно, додати рівномірний тиск, і раптово все виглядає краще. Бажаєте плавніших кольорових переходів? Спробуйте змішувати мокру фарбу сухим пензлем або використовуйте техніку нанесення шарів. Я бачив, як багато художників перетворювали свої роботи після освоєння цих прийомів. Деякі стверджують, що їхній підхід зовсім змінився, коли вони навчилися краще контролювати краї та кольорові переходи.